
New to Pilates? Start here.
Everything you need to feel ready for your first session at Sculpted by Bee.
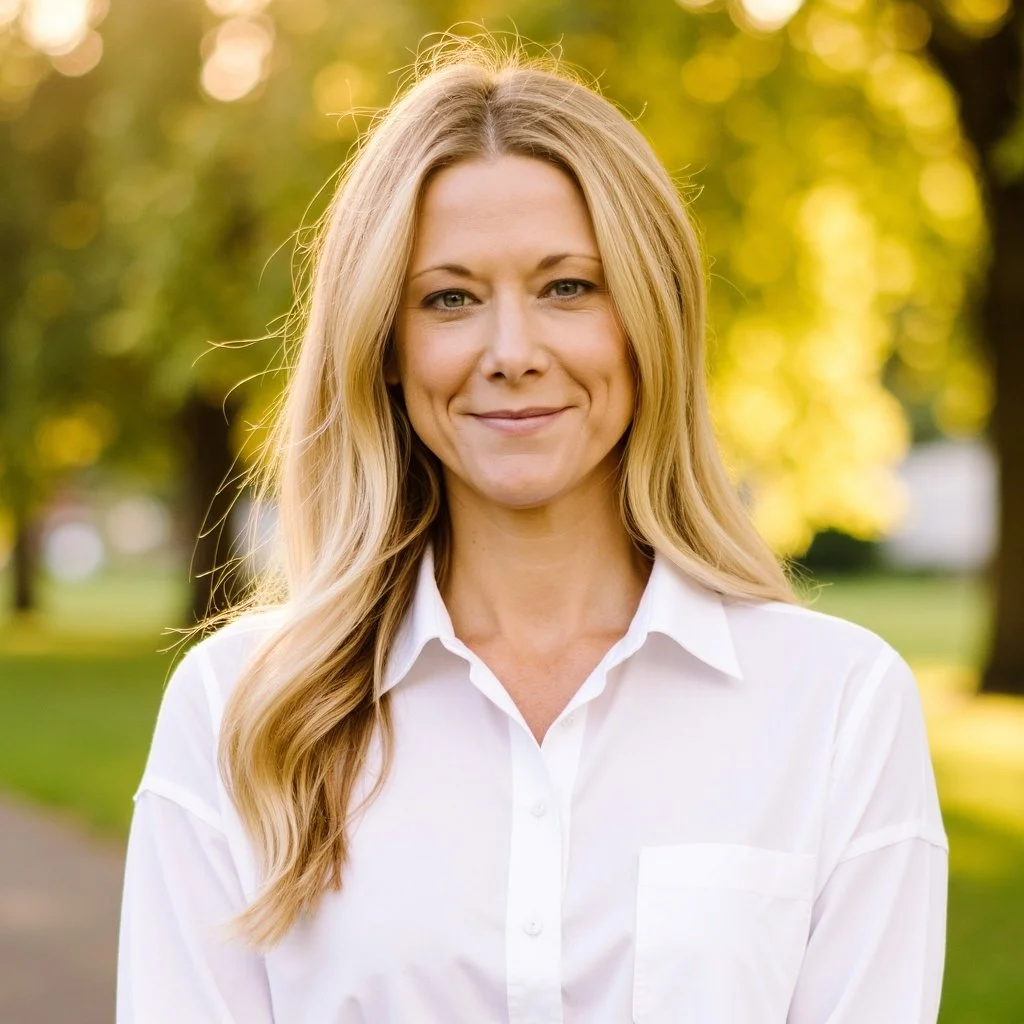
Hi, I'm Bee. I've been teaching Pilates for 25 years, and I still remember how it feels to walk into a studio full of equipment you've never seen. You don't need to be flexible, strong or "in shape" to start. You just need to show up.
Every session is private, just you and me. I'll meet you where you are, explain everything as we go, and build a practice that fits your body.
This page covers what to expect, the equipment you'll use, and the ideas behind every class I teach.
Your first session
Every session at Sculpted by Bee is private and one-on-one, so your first visit is all about you. Here's how it goes:
We talk first. Tell me about your goals, any injuries or surgeries. We will also cover Pilates principles and sign a waiver.
We find your foundation. I'll show you breathing, neutral pelvis and a few simple positions we'll use in every class.
You try the equipment. While there is not enough time for a full session, you will experience some of the apparatus.
You leave with a new insight. Now you have a better idea what private Pilates looks like and if it works for you.
Length: 30 minutes. When you arrive: Please wait downstairs. The studio is upstairs, and I'll bring you up once the client before you has finished. This keeps every session comfortable and confidential.
What to wear and bring
Fitted, comfortable clothes you can move in. Loose shirts can ride up when you're upside down or lying back.
Grip socks are required for safety and hygiene. The studio has some available for sale if interested.
A water bottle.
No shoes on the equipment.
Please park on the street.
Meet the equipment
The springs and straps can look intimidating, but every piece is there to support you or challenge you, depending on what you need that day.
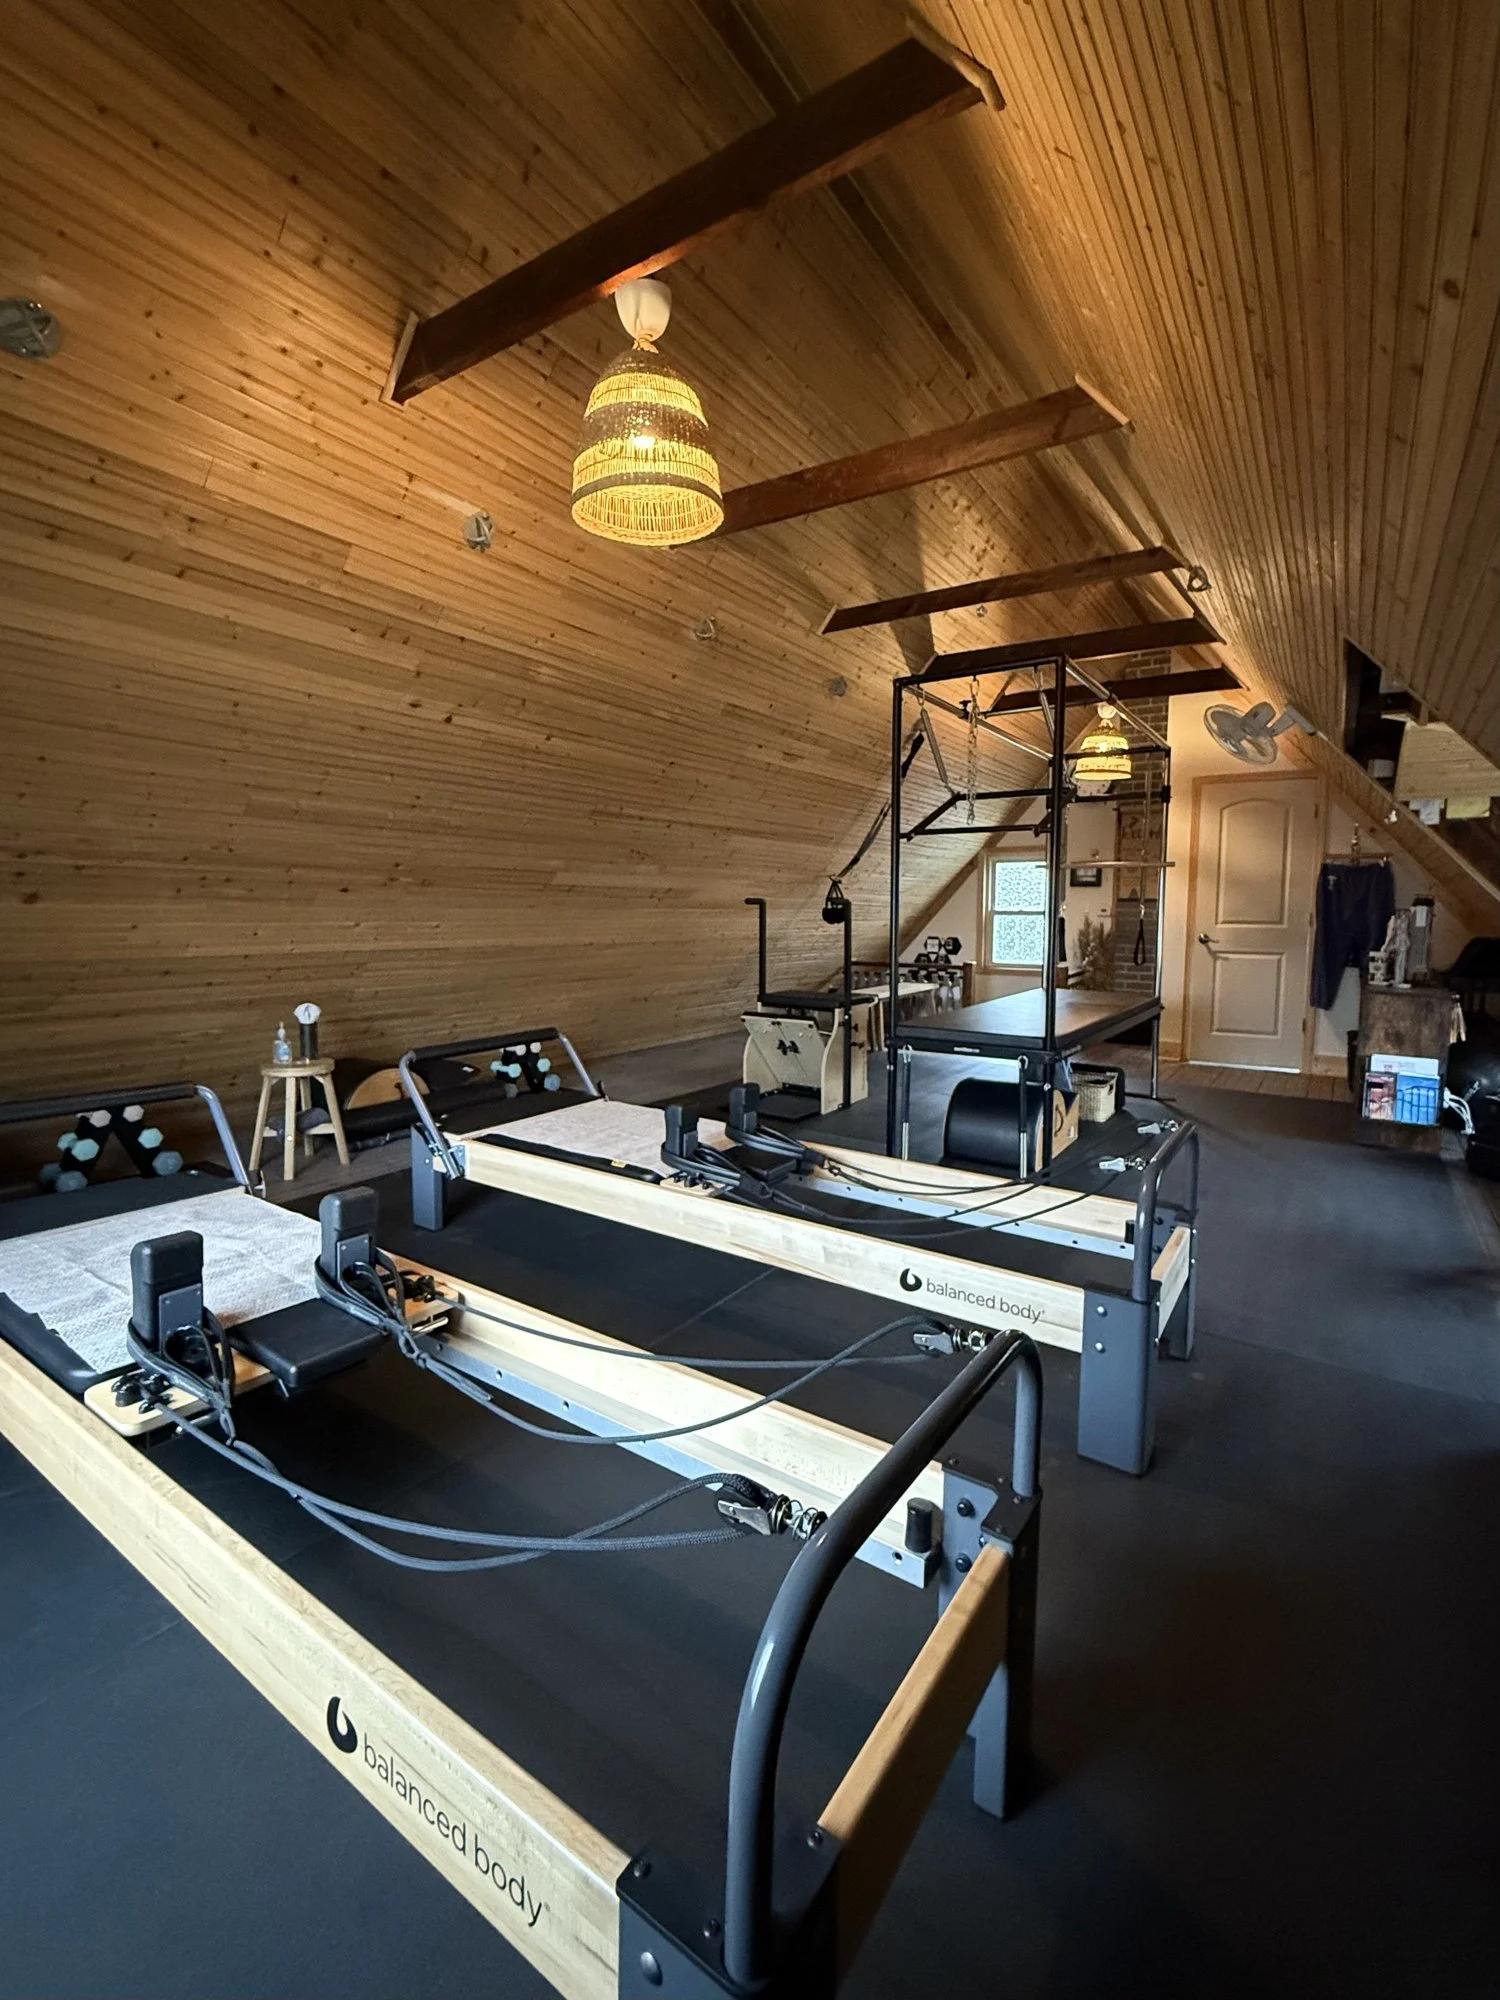
Reformer (Balanced Body)
A sliding carriage with springs that can make a move easier or harder.
Patented as the Universal Reformer in 1926 by Joseph Pilates.
Modern updates include wood frames, adjustable ropes, platform extenders and extra springs.
Makes mat work more accessible and adds standing work.
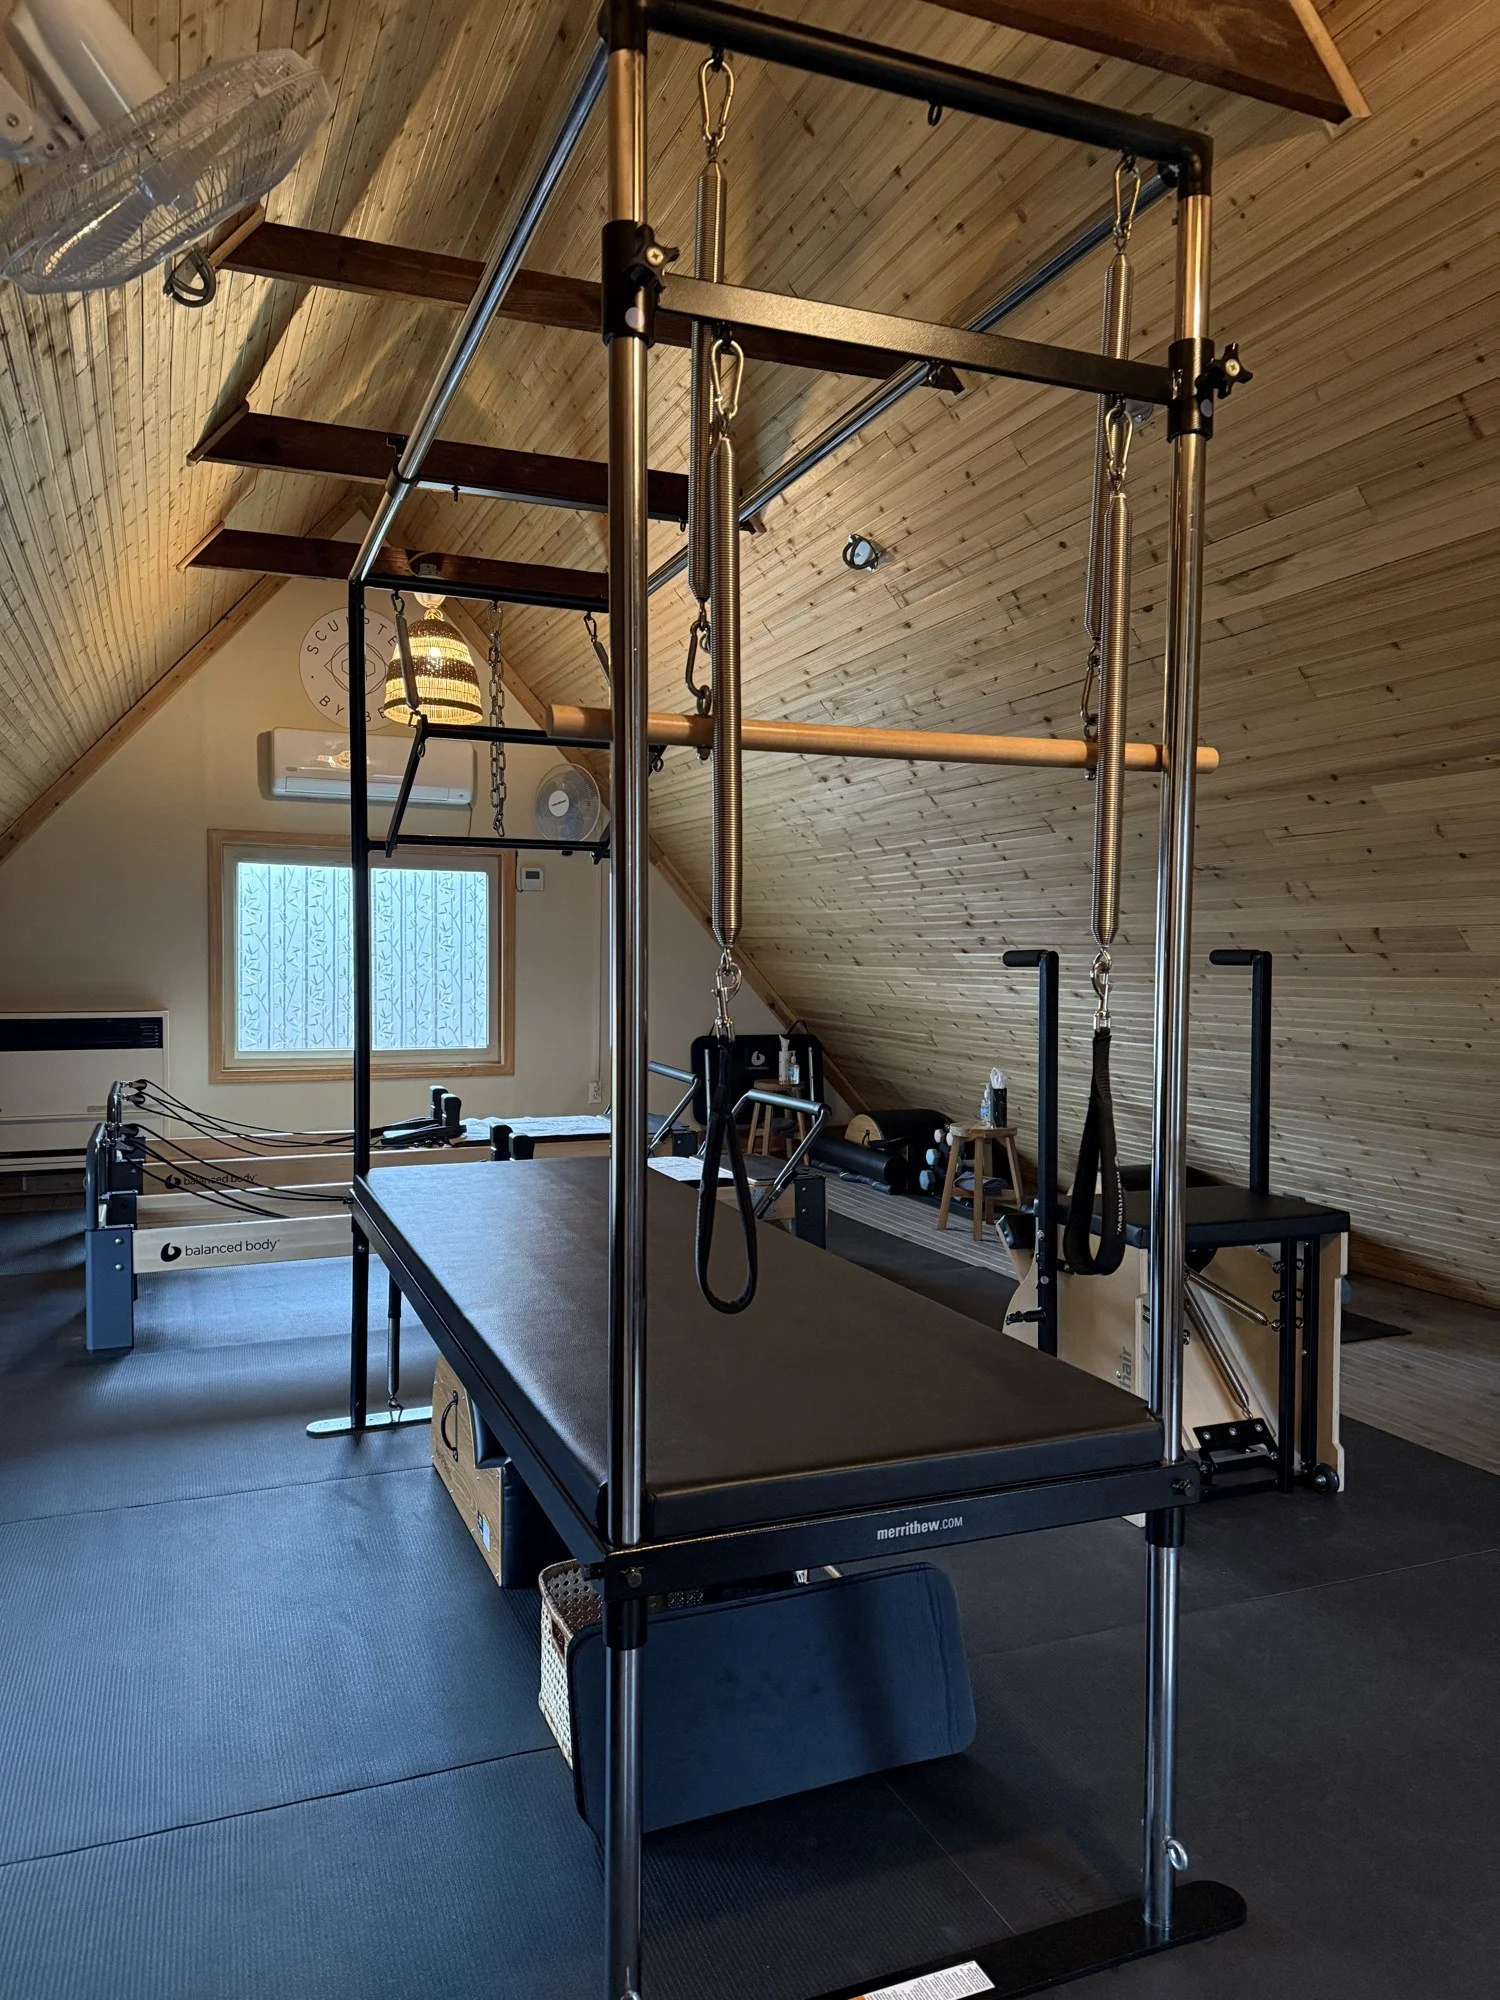
Cadillac / Trapeze Table (Merrithew)
The most versatile piece in the studio. A raised table with a frame overhead for springs, bars and straps.
Developed from Joseph Pilates's spring-loaded bed work and guillotine tower.
"Cadillac" was a nickname a client gave it, not a trademark.
Great for easier, supported mat work, and also for challenging hanging exercises.
Works for all sizes and all levels.
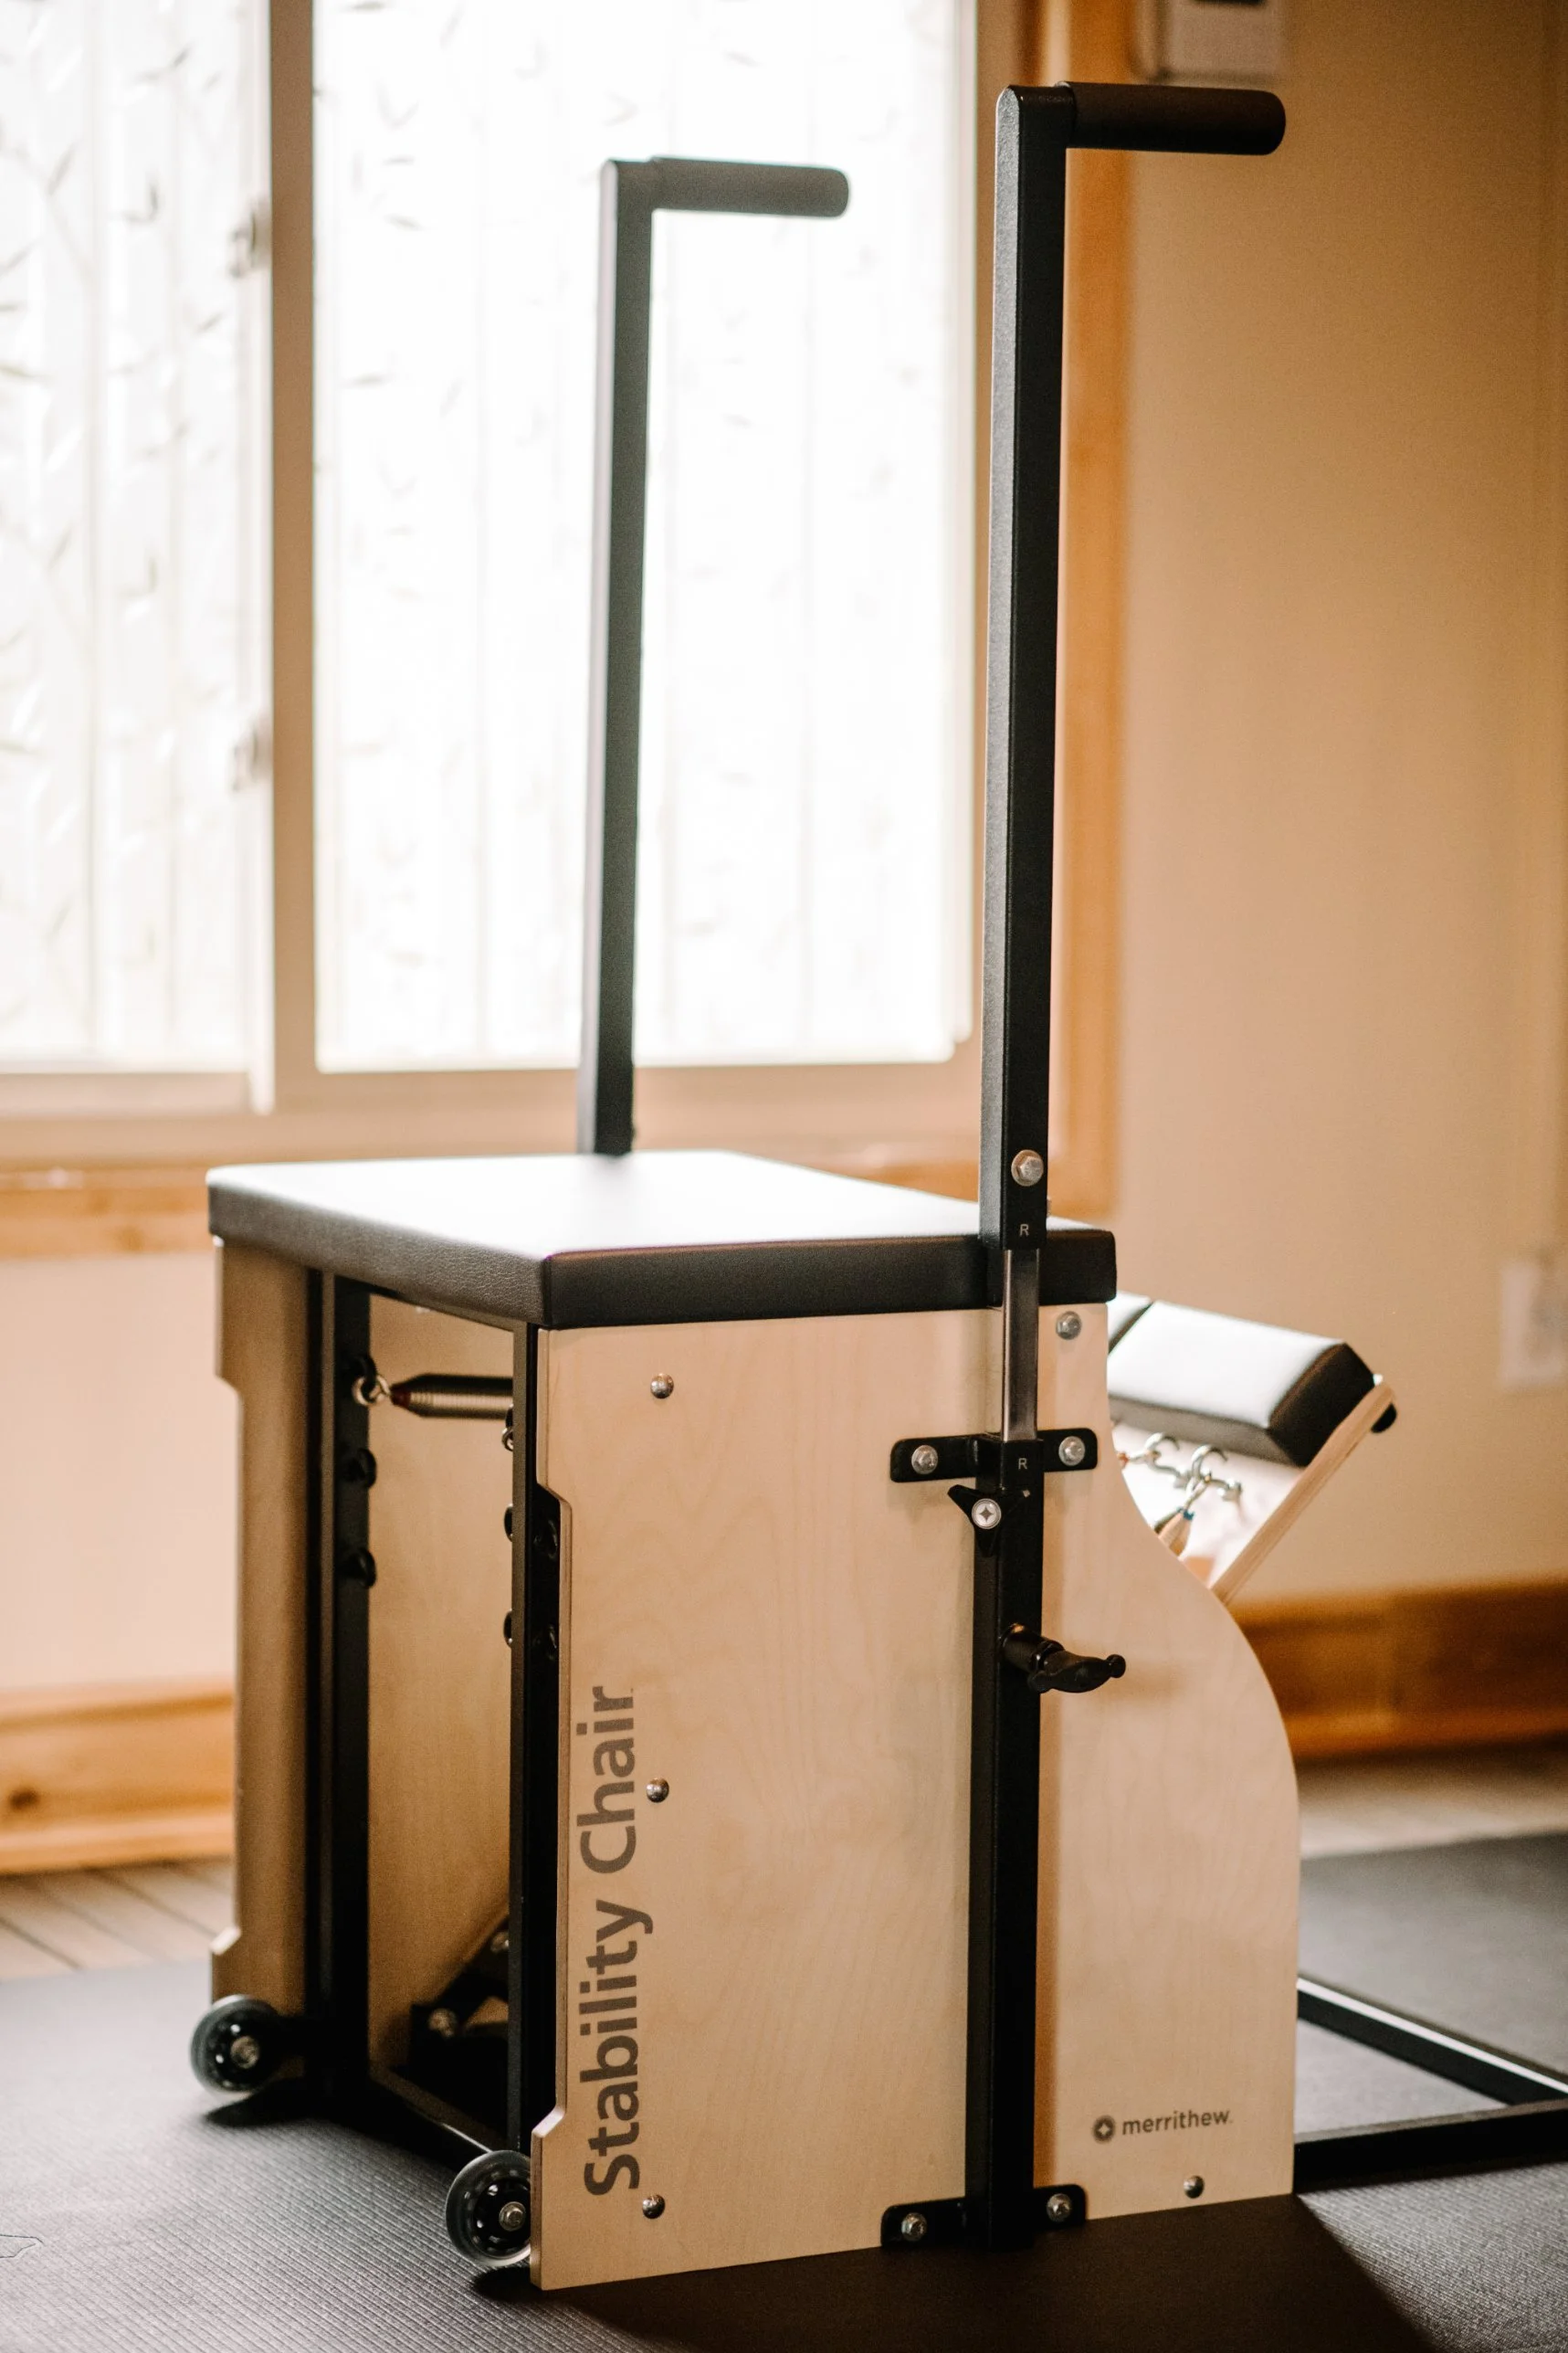
Stability Chair (Merrithew)
Small but mighty. A box with a spring-loaded pedal you press with your hands or feet.
Trademarked by Joseph Pilates in 1931 and 1934.
Evolved from the Wunda Chair and High Electric Chair.
Modern versions add handles and a split pedal.
Excellent for knee rehab, back extension and deep core work.
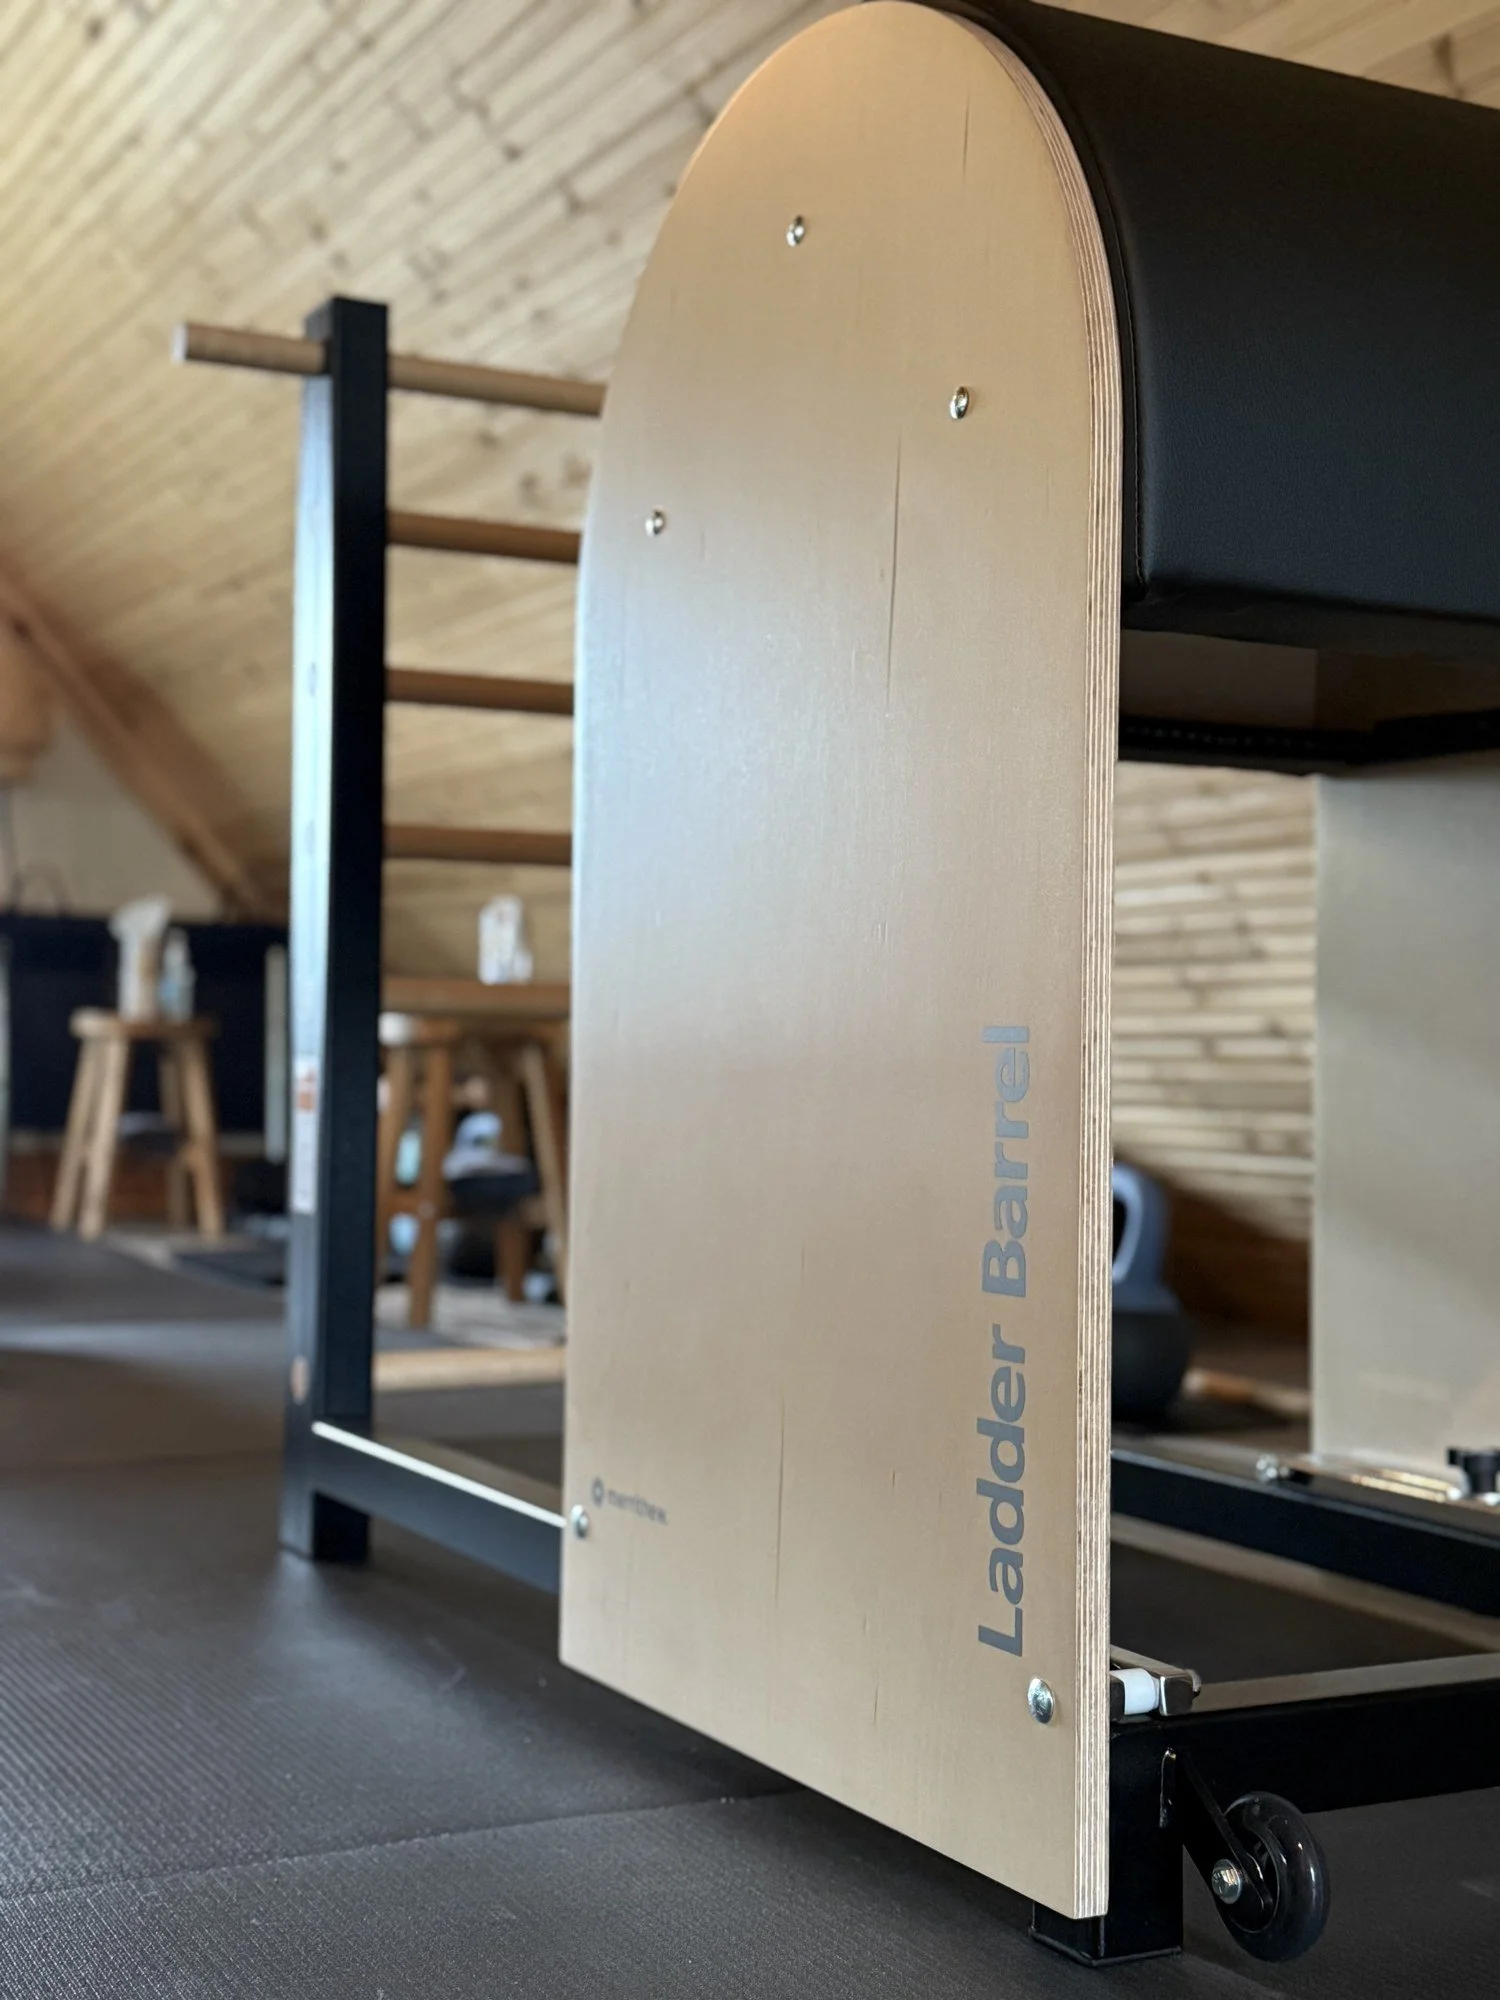
Ladder Barrel (Merrithew)
For stretching and back strength. A curved barrel beside a ladder.
Designed by Joseph Pilates in the early 1940s and kept by the window of his New York studio.
No springs or straps, so it asks for real control and body awareness.
Known for back extension and the short box series.
The principles behind every class
Every class I teach blends Joseph Pilates's original ideas with modern movement science.
6 Classical Principles
Joseph Pilates's original six. Tap each one to read more.
-
Using the power of breath to enhance and coordinate movement. The oxygen and support help guide and protect your powerhouse.
-
The focus to build and keep the mind-body connection. This awareness will serve you well beyond the mat and in daily life. Mind over momentum is paramount!
-
Use your core and midline as the foundation for movement. Your limbs act as weights in Pilates; the core is the powerhouse and the focus.
-
Continuously moving with purpose and efficiency, even when challenged or distracted. Finishing and exiting a movement with grace is just as important as everything before it.
-
Anticipating what you need to do to move with proper form, eventually moving so cleanly that it looks easy.
-
Putting everything together without stopping or cutting moves short. From breath to anticipation to movement and transitions, it becomes a complete practice.
5 Contemporary Principles
Inspired by STOTT PILATES. Tap each one to read more.
-
Being aware of the power of breath for optimal movement. Inhale to lengthen and exhale to contract. Practice with pelvic tilts or a band around the ribs.
-
A neutral pelvis keeps your own natural lumbar curve. It gives stability whether you’re walking or doing leg work lying on your back. Staying neutral without needing to imprint the spine is a future goal.
-
The abdominal wall attaches to the lower ribs and helps stabilize the spine. The goal is to keep the ribs from popping out, especially while breathing and moving the upper back.
-
The shoulder blades connect to the skeleton only at the collarbone, in front. They glide on your back and rely on strong muscles to move with control. Work to keep them flat on the rib cage, since they start most moves.
-
Like the low back, your neck has a natural curve (C3 to C7). Your head should follow your upper spine in every movement. Practice a small chin nod before curling up in ab work. Your gaze can help guide the movement.
Cues you'll hear in class
Pilates has its own language. Here's a head start, so the words will already feel familiar.
Neutral: your pelvis and spine in their natural curves, not tucked or arched.
Imprint: gently easing your low back toward the mat for extra support.
Powerhouse: your deep core: abs, back, hips and pelvic floor working together.
Chin nod: a small nod that lengthens the back of your neck before you curl up.
Ribs down: keep your front ribs soft and connected instead of flaring.
C-curve: rounding your spine into a long, even "C" shape.
Springs light / heavy: light springs often make a move harder; heavy springs give more support.
Eccentric: many times it is the return with control that is the hardest part for beginners.
Try it at home
Three moves to practice before your first session.
3D breathing with a band. Wrap a band around your lower ribs and breathe into it, wide into your back and sides.
Pelvic tilts. Lying on your back, gently tilt between imprint and neutral to feel the difference.
Chin nod. Lying on your back, nod slightly to lengthen your neck, the start of every ab curl.
FAQ
-
Not at all. Pilates builds strength and flexibility; you don’t need them to start. Every move can be made easier or harder.
-
Often, yes. Post-rehab work is one of my specialties. Check with your doctor or physical therapist first, then tell me everything at your first session so I can tailor each move.
-
You do not want to overwhelm yourself immediately. It is far better that you want more and add another day because you enjoy it and feel stronger.
-
The core is the center, but Pilates works your whole body: glutes, legs, back, arms and posture.
-
The mat uses your body weight. The Reformer adds springs, which can support you or add challenge. Both build the same foundation.
-
You’ll find current session options and pricing on my booking page. Use the Book your first session link below.
Ready when you are.
Your first session is about learning your body and building your foundation. I'll guide you through every step.