

BEE’S BLOG
Technique Tuesday: Fourth Position

Discussing fourth position this Technique Tuesday, which is much less intense than the ballet inspired move. The most important thing to note in any position is your posture and form. Fourth position calls for a staggered stance and turned out legs, because of this we are targeting the outer thighs (abductors) and the side seat (gluteus medius). Safely stacking the shoulders over the hips and knees over the ankles, to find your best posture.
One of the most common mistakes is to inadvertently fall into more of a curtsey or lunge. Look down and confirm your feet are staggered front to back about 12 inches apart and on their own hip width plane with knees turned out. If done correctly you should have weight evenly distributed in both feet and feel centered enough to let go of the barre. Curtsey lunge is much more dramatic and calls for the back leg to cross the midline and force the front thigh to take more weight. Classic lunge would have no turnout and be targeting more quad and hamstring work.
Eventually you will gain muscle memory and sink into all these positions effortlessly. But that only happens if you work on your form every chance you practice. Thinking about your posture and what muscles you are targeting, long before you worry about sinking deeper or working harder.
Go get it, #yesyoucan - Bee
Technique Tuesday: Ski Position
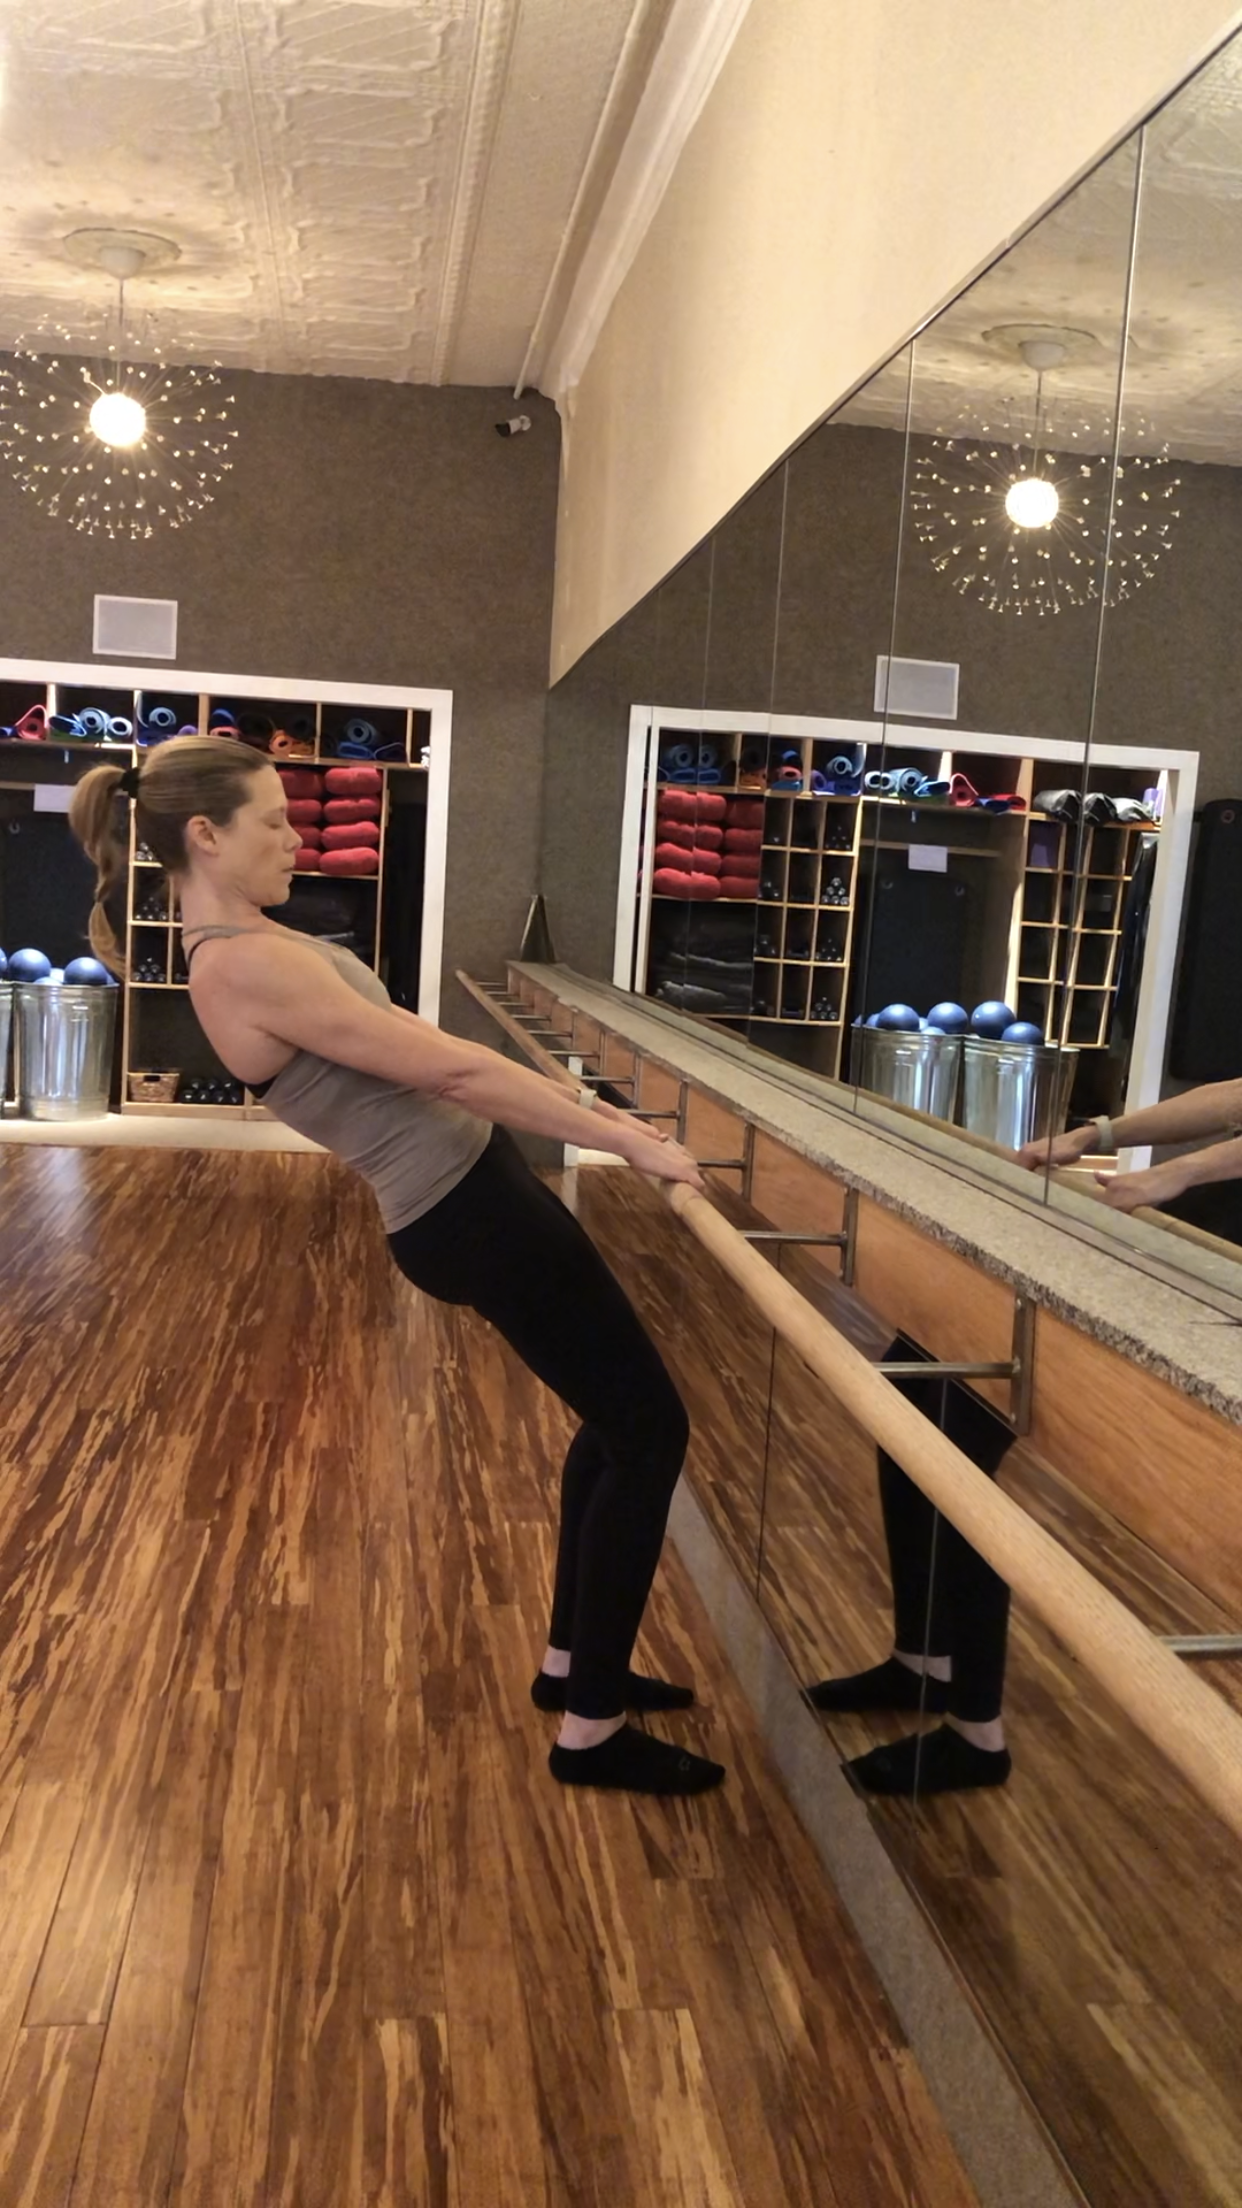
Finding proper alignment in ski position today. Maintaining the neck to knee cap line is crucial to keep the back and shoulders from taking the brunt of the work. Option to level up is shown at the end. Challenge yourself to keep your head low when you come in and out of ski…a BIG BURNER. #yesyoucan
Bee
In The Kitchen: Overnight Oats

Another Sunday, another time saving prep for success tip. Did you know oats that are soaked overnight in liquid instead of being cooked with heat are easier to digest and contain more RS (resistant starch)? This starch can make you feel fuller longer and also prevent insulin spikes in your body. Oats also contain more protein and healthy fat than most other grains.
All of this is great news, but the fact that you can make them the night before is a great time saver! They are also open to customization, make those oats yours by playing with ingredients and next day toppings. The recipe is quite simple; using equal parts of old fashioned oats to your choice of non-dairy milk. Playing with the ratios if you want them runnier or stickier, more liquid or oats respectively. My favorite addition is to use part of the liquid from cold brew coffee, big game changer in the morning!

1 part old fashioned oats
1 part oat milk
optional: cacao nibs, nut butter, madagascar vanilla, flax seeds, cinnamon, banana, dates, cold brew coffee, maple syrup… GET CREATIVE!
Glass containers designed for jelly or yogurt can be found with snap on lids on amazon. These have proven to be easy to clean, economical, reusable and photo worthy in your fridge. Overnight oats are designed to be eaten cold the next day, as heating them reduces the nutrient levels and digestive benefits.
Hopefully this has inspired you to try them for yourself, and if so please send me your thoughts or tag me on instagram.
This week is all you friends! #YESYOUCAN
Bee
Technique Tuesday: Flatback Chair

This position is exactly as it sounds, like sitting in an invisible chair. The challenge is using your thigh and seat muscles to maintain that hover without putting undue pressure on your shoulders or back. The most common misalignments stem from not being in 90-degree bends or stacking shoulders over hips and knees over ankles. Once you find this the arms should naturally become straight, pulling off like a plank so the quadricep muscles (thighs) can take over instead of the shoulders or elbows.
Chair position will burn more calories because it is a full body exercise, that is where your breathing and focus should come in. If you need a break or want to modify just work up higher without losing the stacked form and straight arms. Many times, clients will bend their arms to relieve the thigh burn but this can put undue stress on the shoulders and wrists. I find it better to work up higher with 3/4 bent legs and then come back down to knee height when you feel ready. Over time you will need less breaks and eventually stay in the position for the whole set.

Sitara is showing the perfect stacked form of shoulders over hips and knees over ankles with straight arms.
Never forget that barre is set up to fatigue your muscle group and then move on to another, so the shake is good! Are you catching on yet? Do you know what is coming next? That’s right; go get it because #YESYOUCAN
Bee
Technique Tuesday: Wide(r) 2nd

The wider version of Second position, or Goddess to the yogis, requires patience and practice. It is a position you should be warmed up for, coming later in your class or kept shallower if done during warm up. Just as time is important, form and posture are key to safely finding this wide plié.
You are working to keep your back flat as you bend the knees, shoulders over hips. Because of this, you will fight to keep the knees tracking inside your big toe. Your body will want to collapse forward like a squat, and in turn the knees will follow. This is where patience and practice come in. You should not expect to sink to knee height and raise your heels from the start.
My biggest advice in any position is to work higher without adding the ‘bells and whistles’ until you have mastered the basics and acquired muscle memory of good form. In wide position that would mean staying on flat feet and not lowering past the depth where the back is flat and knees are wide over the ankle. Over time you will find flexibility and strength enabling you to step wider and sink lower, perhaps adding releve’ (coming to the toes). When you lift the heels find more weight in the ball of the foot instead of the toenails feeling pressure, keeping your pinky toe down as well.

Celebrate the challenge by practicing and giving yourself something to look forward to (or photo ops), a goal is key to consistency.
Go get it, because #YESYOUCAN
BEE
Prep for success:

Maybe you have seen the deliverable smoothies, all prepared for you just to pop out of the freezer and get blended. Time saving, no fuss and no mess seems ideal right? Then you discover it amounts to a minimum of $240/month for this service and you could use that money for so many more time saving, or better yet, enjoyable self care things.
Unfortunately, after a couple weeks of the messy prep work and grocery shopping the time between smoothies gets greater and greater. That’s where I (hopefully) come in to inspire you. The above account is a non-fiction tale of my actual last 6 months, until I decided to PREP MYSELF FOR SUCCESS. In this case; make it easier to consistently create and enjoy more homemade smoothies.

Ball Jar Freezer Cups
Enter the Ball Mason Jar freezer cups. I use the 8oz and 10oz sizes, filled with my greens and fruit of choice. In the summer you could visit local farmer’s markets to stock up on fresh produce, but I love the convenience of frozen organic goods. Of course you still need to add your liquid of choice (oat or cashew milk for me), fresh banana or avocado, cacao nibs, flax seeds or maybe collagen protein.


A large bag of frozen spinach, two small bags of berries and a small bag of kale produced 12 servings for my freezer. If you add in the cost of your milk choice and extras, they are still coming in under $3.00 a smoothie! The cost is not the only incentive, but also the convenience of it being in your freezer ready to go. I know it may not seem like it would be such a big game changer, but it has been for me. One Sunday of prep work gives me two weeks of ‘at the ready’ smoothies, insuring I don’t skip meals or snack on awful empty filler food.
Give it a try and let me know if it helped you, too…
Bee
Setting your intentions
I don’t know about you, but my Sundays always include prepping for the week ahead. It’s the only day of the week I do not teach, so I try to fit in family time and self care. Sometimes this is as simple as preparing my smoothie packs for the freezer, walking the dogs with hubby and the inevitable load of laundry that is 99% leggings. Now, hopefully, I am sore from all of the workouts I completed during the week and finish Sunday with a nice deep soak in magnesium and essential oil.
Speaking of workouts brings me to the title of this post. Do you plan your workouts for the week like you do your meals? Scheduling the sessions for the week will greatly increase your chances of staying on track. As the week goes on and things pop up, as they always do, you will be more inclined to schedule other things AROUND your workouts and not the other way around.
After I started this practice of signing up my workouts for the week on Sundays, my meal planning and personal time actually became more consistent and of quality. Setting the intention to be organized and honor all aspects of my well being truly spilled over into other facets of my life, and I am forever grateful. Give it a try and let me know how you find this idea works in your life… #yesyoucan - Bee